
So you’ve been working hard on your first Android app and you’re satisfied with the result so far. There’s always room for more improvement, of course, but you’ve decided that this is ‘good enough’ to ship. Good! No one does something perfectly the first time (or ever, really) so kudos to you for making the decision.
So anyway you’ve finally decided to release your creation to the public. You feel ready to do it, but you’re not sure what you should know beforehand. This is the first time you’re actually publishing an Android app to the Play Store and you don’t want to screw up. What do you need to know?
In most cases, it’s a good idea not to think too much and just do it. I’m sure you believe, as software developers, in the power of learning by doing. That’s how we all learn, after all.
But in this case, there are a few things that you should know before publishing your Android app which can cost you dearly if you ignore them.
Keystores and app signing
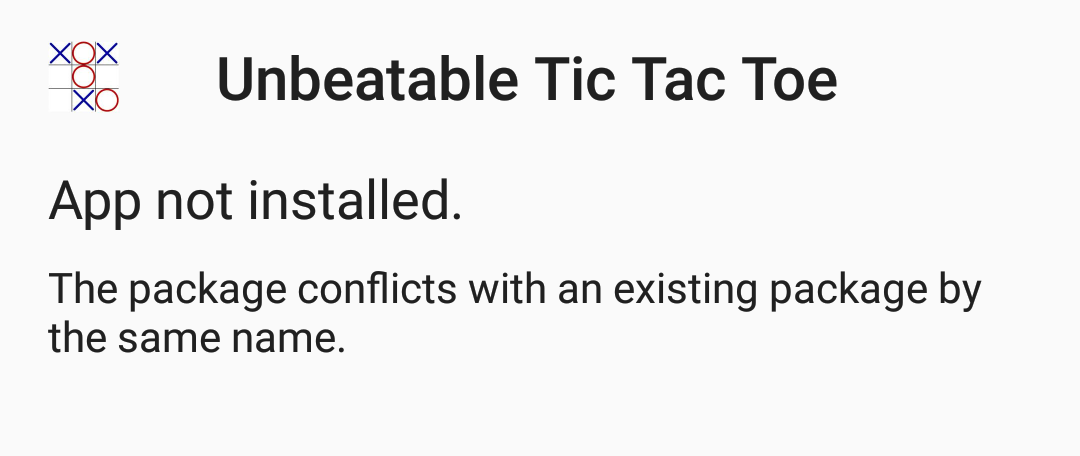
All Android APKs need to be digitally signed with a certificate before you can install them. This is done to ensure that you’re the sole legitimate owner of your app as well as any consequent updates to the app, so no one else can distribute apps under your name. Only you hold the private key to the certificate that you use to sign your APK, so if an attacker tries to make a counterfeit app using the same package name and tries installing it onto an Android device with your app already installed, the Android system will block the install because the attacker, due to lack of access to your private key, signed the APK with a different key, and the Android system can tell this.
While developing your app, every time your apps needs to get deployed on an Android device or emulator, Android Studio signs your APK with a debug key. (You can find your debug key in the .android folder inside your home folder.) While this works great for development because you don’t have to manually sign APKs for every deployment, it doesn’t work when you need to finally publish your app.
This is where the release key is needed. The release key is basically a key that you generate and use to sign apps with. After signing your APK with this key, you can proceed to uploading your APK to your Google Developer’s account.
Note that you need to keep this key private – anyone in possession of your key can sign APKs with it.
Google Play App Signing
When you upload your APK in your Google Play Console for the first time in your app, you have the option to enable Google Play App Signing. What this does is, it takes the responsibility of keeping the signing key safe off of your shoulders and onto their own.
How it basically works is this: with Google Play App Signing enabled, when you sign your APK with your own secret key and then upload it and publish your app, Google removes your signature and replaces it with their own. You can verify this by checking the public key of the APK you generated versus the APK you get after you download the app from Play Store.
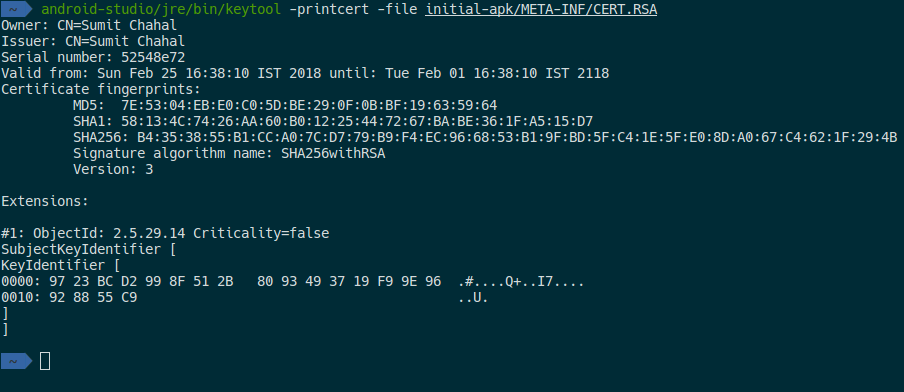
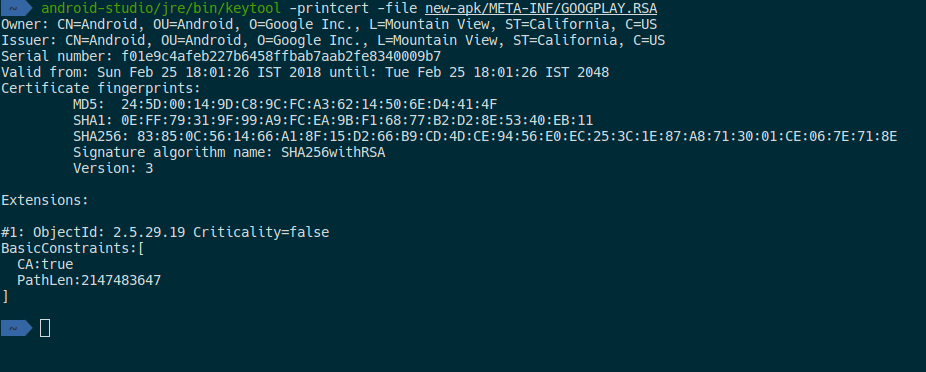
See the difference? Here, my original key (first image) acts not as the signing key of the app, but rather the upload key. This key is disposable – you can afford to lose it as you can request a new one with Google and continue pushing updates to your app with your new upload key. This is the advantage of using Google Play App Signing. The key generated by Google (second image) acts as the real signing key, and this one cannot change, but it doesn’t matter too much because it’s Google’s responsibility to keep it safe.
If you want a longer expiration date, you should choose to opt out of Google Play App Signing when you first upload your app
One interesting thing to note here is how the expiration time reduced from my initially set ~100 years to 30 years for the new signing key. I’m not sure if this behaviour is documented anywhere, but if you want a longer expiration date, you should choose to opt out of Google Play App Signing when you first upload your app, then turn it on again if you want it. This is a bit more cumbersome since you’ll need to upload your actual signing key to Google’s servers, and you’ll also need to generate a new upload key to use in its place. But the good thing is, your apps will be signed with the key that you choose, with the expiration date that you set.
Conclusion
Whatever your decision, just remember that whether you choose to keep your signing key yourself or you leave it to Google, you must not lose the signing key. You cannot publish updates to your app under the same package name if you do.
You also need to keep your signing key secure. If anyone else gets hold of it, they could distribute malware under your name.
Also, be aware of the expiration date that Google imposes on your APK on behalf of you. If you want to configure it yourself, be sure to opt out the first time you upload your APK, then opt in later if you wish. You cannot publish updates to your app beyond the expiration date.
There are other things to consider for sure. But these are the most basic things that apply to pretty much any Android app, no matter how small or large or what services it makes use of.